Got sand and salt on your speaker? No worries! This guide shows you the super-easy way to clean your Bluetooth speaker after a beach day, making it sound great again without any fuss.
Hey there, tech explorer! Max here from AffTechy.com. You know, there’s nothing quite like the feeling of jamming to your favorite tunes at the beach. The sun’s out, the waves are crashing, and your trusty Bluetooth speaker is delivering the soundtrack to your perfect day. But then, uh oh. You packed up, and you realized your speaker took a bit of a sandy, salty bath. It’s a bummer, right?
It can feel a little confusing when your gear gets a little roughed up. You just want to enjoy your music, not worry about whether your speaker is going to work properly. We’ve all been there, wondering if that little bit of sand is going to ruin the sound or if that salty spray is going to cause damage. But don’t sweat it!
I’m here to tell you that cleaning your Bluetooth speaker after a beach trip is totally doable. We’re going to go through it step-by-step, nice and easy. No complicated jargon, just simple tips that’ll get your speaker back in tip-top shape. Ready to make your speaker sparkle and sing again? Let’s dive in!
Why Beach Sand and Salt Are Tricky for Speakers
So, you’ve had an amazing day at the beach. Your Bluetooth speaker was the life of the party, playing all your favorite songs. But now, as you’re packing up, you notice a fine layer of sand coating everything. And maybe there’s a bit of that salty sea air residue too. It’s more than just looking messy; these things can actually cause problems for your speaker.
Sand, as you know, is made up of tiny, hard grains. When it gets into speaker grilles or ports, it can block sound or even scratch delicate internal components over time. Saltwater is even trickier. Salt is corrosive, meaning it can eat away at metal parts and damage electronics if left untreated. It’s like giving your speaker a little rust bath it doesn’t need.
Your Beach-Proofing Speaker Checklist (Before You Go!)
Before we even get to cleaning, let’s talk about being prepared. Some speakers are built tougher than others. Knowing what to look for can save you a lot of cleaning headaches later!
- Water Resistance Rating (IPX): This is super important! Look for speakers with an IPX rating. IPX4 is okay for splashes, but IPX7 is great for submersion up to 1 meter for 30 minutes. Speakers with higher IPX ratings are your best friends for beach days.
- Dustproof Design: Some IPX ratings also include dust protection. A speaker rated IP6X is completely dustproof. This means sand has a much harder time getting in.
- Durable Materials: Speakers made with rubberized coatings or sturdy plastic tend to handle bumps and sand better than those with delicate fabric grilles.
- Protective Cases: Even if your speaker isn’t super rugged, a good carrying case can protect it from the elements when you’re on the move.
It’s always a good idea to check your speaker’s manual or the manufacturer’s website for its specific water and dust resistance ratings. This tells you how much of a beating it can take. A speaker that’s IP67 rated, for example, is both dustproof and can handle being submerged. Pretty cool, right?
Step-by-Step: Cleaning Your Speaker After Beach Exposure
Okay, the fun is over, and your speaker needs a little TLC. Don’t worry, this is straightforward. We’ll get your speaker sounding its best again.
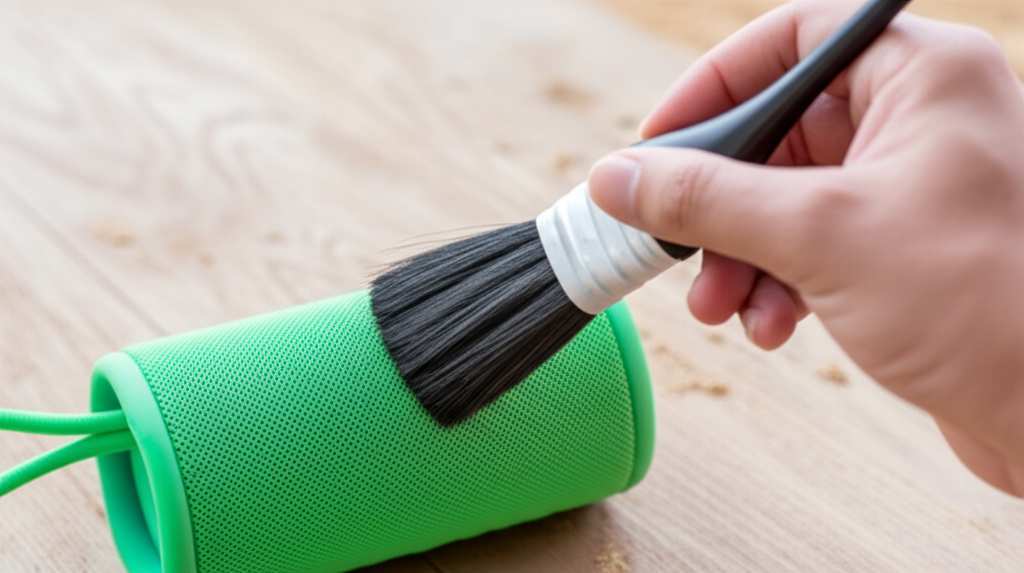
Step 1: The Gentle Dry Brush-Off
First things first, let your speaker dry completely. Trying to brush off wet sand can just smear it around and push it deeper into crevices. Once it’s dry, grab a soft-bristled brush. Think of a clean paintbrush or a soft toothbrush.
Gently brush away any loose sand from the speaker’s surface, grilles, and buttons. Work in the direction of the speaker’s texture if possible. Be extra careful around any openings or ports. The goal here is to remove as much dry debris as possible before we introduce any moisture.
Step 2: Wiping Away Grime with a Damp Cloth
Now, for the salty residue and any remaining dust. Get a clean, lint-free cloth. Dampen it slightly with fresh water – not soaking wet, just a little bit moist. You can also use a microfiber cloth, which is super gentle.

Carefully wipe down the entire exterior of the speaker. Pay attention to any areas where you saw salt spray or sticky spots. If your speaker is water-resistant, you can be a little more liberal with the damp cloth, but always avoid getting water into any ports.
Step 3: Tackling Stubborn Grime (If Needed)
For any really tough spots, you might need a little something extra. Mix a tiny drop of mild dish soap with some water. Dip a corner of your cloth into this solution and gently scrub the stubborn area. Then, immediately wipe it clean with a separate cloth dampened with just fresh water to remove any soap residue.
You don’t want any soap left behind, as it can attract more dirt or affect the speaker’s finish. Always test any cleaning solution on a small, inconspicuous area first if you’re unsure.
Step 4: Cleaning Speaker Grilles and Ports
This is where a lot of sand likes to hide. For speaker grilles, a dry, soft brush is your best bet. You can also try using a can of compressed air (hold it upright and use short bursts from a distance) to blow out sand from the grilles. Be gentle!
For charging ports and other openings, never stick anything sharp or wet inside. A dry cotton swab can sometimes help dislodge visible debris, or again, a short burst of compressed air can work wonders. If you suspect water or sand got inside a port, let it air dry completely for at least 24 hours before attempting to charge or use it.
Step 5: Drying Everything Thoroughly
This is a crucial step, especially if your speaker is water-resistant. After cleaning with a damp cloth, use a dry, lint-free cloth to wipe down the entire speaker again. Make sure all surfaces are dry to the touch.
Then, let the speaker air dry completely in a well-ventilated area. Avoid direct sunlight or heat sources, as these can damage the speaker. Give it a good few hours, or even overnight, just to be absolutely sure there’s no lingering moisture. Patience here prevents future problems!
What NOT to Do When Cleaning Your Speaker
It’s just as important to know what to avoid. Some cleaning methods can do more harm than good. Let’s keep your speaker safe and sound!
- Don’t submerge non-waterproof speakers: If your speaker doesn’t have a high IPX rating, keep it away from water. Even if it does, make sure you know its limits.
- Don’t use harsh chemicals: Avoid alcohol, ammonia, window cleaners, or abrasive pads. These can damage the speaker’s finish, plastics, and internal components.
- Don’t spray water directly: Always dampen your cloth, don’t spray water or cleaning solutions directly onto the speaker, especially near ports or buttons.
- Don’t use excessive force: Be gentle. Sand and salt are abrasive, but so can be aggressive cleaning.
- Don’t ignore ports and openings: These are common entry points for debris. Clean them carefully but avoid pushing anything inside.
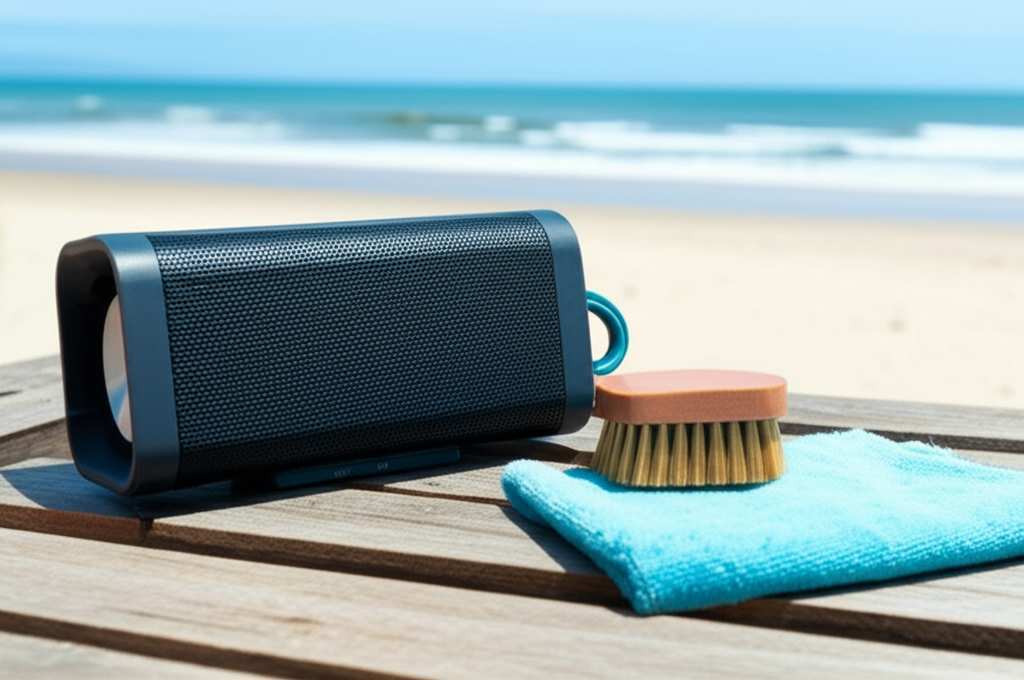
Quick Cleaning Tools You Might Need
Here’s a handy list of items that will make cleaning your speaker a breeze:
- Soft-bristled brush (like a clean paintbrush or toothbrush)
- Lint-free cloths (microfiber cloths are great!)
- Fresh water
- Mild dish soap (optional, for tough spots)
- Cotton swabs (for detailed cleaning of openings)
- Can of compressed air (optional, for blowing out debris)
These are simple items you likely already have around the house. Having them ready means you can tackle any beach-induced speaker issues right away.
A Little About Speaker Durability: IP Ratings Explained
You might have seen those “IP” ratings on speaker boxes and wondered what they mean. They’re actually super useful! IP stands for “Ingress Protection,” and it tells you how well a device is protected against solids (like dust) and liquids (like water).
The first number after “IP” tells you about dust protection, and the second number is for water protection. Here’s a quick rundown of what those numbers mean for your speaker:
| IP Rating | Dust Protection | Water Protection | Beach-Friendliness |
|---|---|---|---|
| IPX4 | N/A | Splashing water from any direction | Okay for light splashes, but avoid sand/immersion. |
| IPX5 | N/A | Water jets from any direction | Better against light spray, still cautious with sand. |
| IPX7 | N/A | Immersion up to 1 meter for 30 minutes | Good for accidental drops in shallow water, but sand is still an issue. |
| IP65 | Dust protected (limited dust ingress) | Water jets from any direction | Much better against sand and spray. |
| IP67 | Dustproof | Immersion up to 1 meter for 30 minutes | Excellent for beach use, handles sand and water well. |
| IP68 | Dustproof | Continuous immersion under specified pressure | Top-tier protection, very beach-friendly. |
As you can see, a higher IP rating, especially one with a “6” for dust protection, is your best bet for beach adventures. For example, a speaker with an IP67 rating is a real champ. It’s completely dustproof, so sand won’t get in easily, and it can even survive a dunk in the ocean (though we still recommend rinsing it with fresh water afterward!).
When to Call in the Pros (Or Consider an Upgrade)
Most of the time, a gentle cleaning will do the trick. But what if your speaker was fully submerged in saltwater, or if sand got deep inside and you’re worried about damage?
If you notice any strange noises after cleaning, or if the sound quality has noticeably decreased, it might be a sign of internal damage. For expensive or high-end speakers, it might be worth contacting the manufacturer’s customer support. They might have specific cleaning instructions or repair services.
If your speaker is older and doesn’t have great water or dust resistance, this might be a good time to think about an upgrade. Modern Bluetooth speakers often come with robust IP ratings that make them perfect for outdoor adventures. It’s an investment in worry-free fun! You can find great reviews on sites like CNET for the latest durable models.
Frequently Asked Questions (FAQs)
Here are some common questions people have about cleaning their Bluetooth speakers after beach exposure.
Q1: Can I wash my Bluetooth speaker with soap and water?
It depends on the speaker’s water resistance rating. If it’s highly water-resistant (like IPX7 or higher), you can use a damp cloth with a tiny bit of mild soap for tough spots. Always wipe off the soap with a fresh damp cloth and dry thoroughly. Never submerge a speaker unless its manual explicitly says it’s safe to do so.
Q2: How do I get sand out of speaker grilles?
The best way is to use a soft, dry brush to gently sweep the sand away. A can of compressed air, used in short bursts from a distance, can also help blow out stubborn sand. Be very careful not to force anything into the grille.
Q3: My speaker got saltwater on it. What should I do?
Rinse it immediately with fresh, clean water using a damp cloth. Then, follow the regular cleaning steps: wipe it down, let it air dry completely for at least 24 hours. Saltwater is corrosive, so quick action is key to preventing damage.
Q4: Can I use a hairdryer to dry my speaker?
No, absolutely not! Heat can damage the speaker’s materials, battery, and internal components. Always let your speaker air dry naturally in a well-ventilated area away from direct heat or sunlight.
Q5: How often should I clean my Bluetooth speaker after beach use?
You should clean it as soon as possible after each beach trip. The longer sand and salt sit on or in your speaker, the higher the chance of damage. A quick clean prevents bigger problems later.
Q6: My speaker sounds muffled after cleaning. What’s wrong?
This usually means there’s still some debris blocking the speaker grille or that moisture hasn’t fully dried inside. Make sure the speaker is completely dry and try using compressed air on the grilles again. If the problem persists, there might be internal damage, and you may need to contact the manufacturer.
Q7: Are all Bluetooth speakers okay for the beach?
No, not all of them. Speakers designed for outdoor use typically have high IP ratings for water and dust resistance. Always check your speaker’s specifications before taking it to the beach to ensure it can handle the environment.
Keep the Tunes Rolling, Worry-Free!
So there you have it! Cleaning your Bluetooth speaker after a sandy, salty beach day doesn’t have to be a chore. With a few simple steps and the right tools, you can easily get rid of that unwanted beach debris. Remember to be gentle, use fresh water, and always let your speaker dry thoroughly.
By taking a little care, you’re not just cleaning your speaker; you’re protecting your investment and ensuring it keeps delivering awesome sound for all your future adventures. Whether it’s a picnic in the park, a backyard BBQ, or another trip to the shore, your speaker will be ready.
Now go enjoy amazing sound and make every moment louder and better! Happy listening!