
Find the perfect hiking speaker volume to enjoy your tunes without disturbing nature or your crew! Learn easy tips for setting the right sound level on the trail.
Hey there, fellow adventurers! Max here, your go-to guy for making tech easy and fun. You know, one of the best parts of a hike can be a great soundtrack. Imagine hitting a scenic overlook, and your favorite song starts playing, perfectly matching the moment. It’s pure magic!
But let’s be real, picking the right speaker and, more importantly, the right volume can feel like a puzzle. Too loud, and you’re that person everyone groans about. Too quiet, and you can’t even hear the beat over the wind. It’s a tricky balance, right?
Don’t worry, though! I’ve spent a lot of time on trails with my trusty gadgets, and I’ve learned a thing or two about keeping the peace while still enjoying some tunes. My mission is to make tech less intimidating, and that includes figuring out speaker volume for your outdoor escapades.
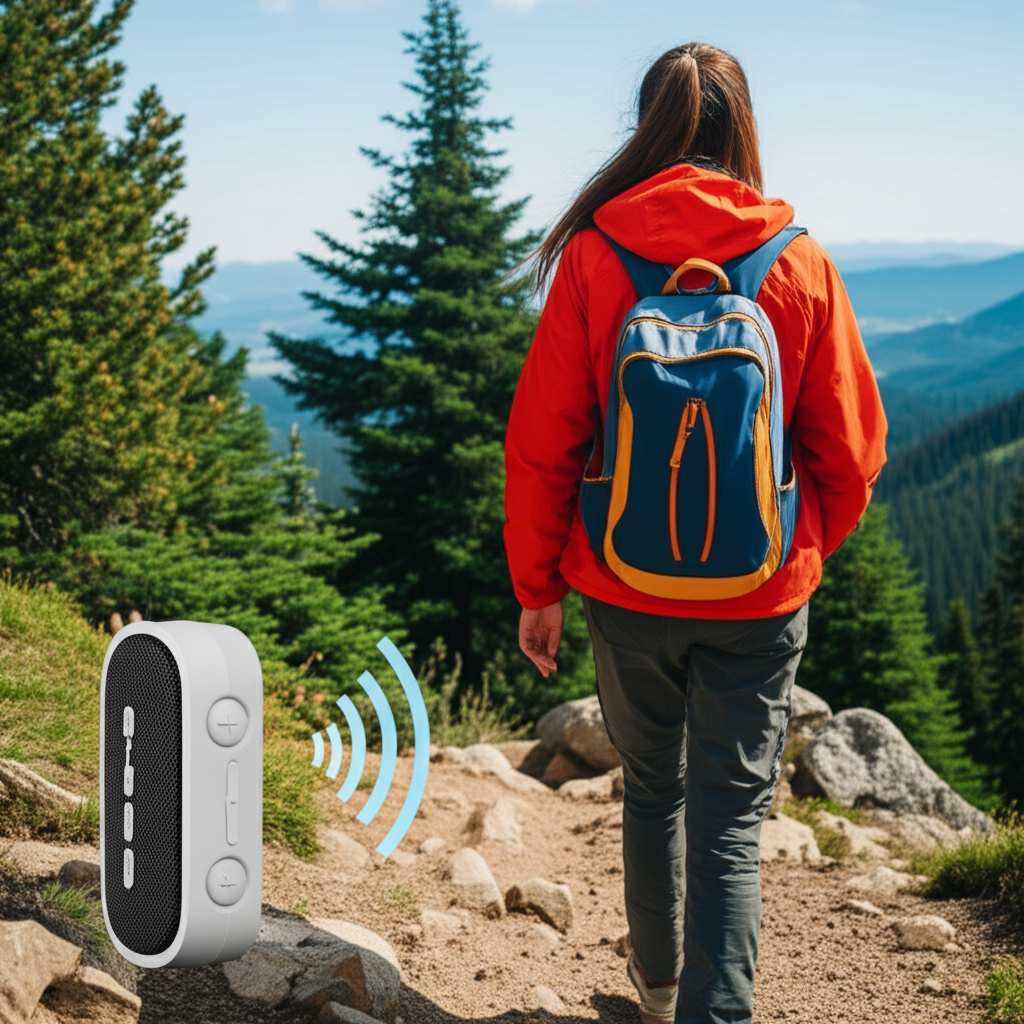
We’re going to dive into how to find that sweet spot – where your music enhances your hike without ruining it for anyone else. Ready to make your next outdoor adventure sound amazing? Let’s break it down step by step.
Why Speaker Volume on Hikes Matters So Much
Think about it. When we’re out in nature, we’re sharing a space. Whether it’s a busy trail or a quiet forest path, there are usually other people around, not to mention all the amazing wildlife. Our actions can really impact their experience.
Playing music too loudly can be super disruptive. It can scare away animals, which is a bummer for them and for anyone hoping to spot them. It also clashes with the natural sounds that many people go hiking to enjoy – the birds chirping, the rustling leaves, the babbling brook. Plus, it can really annoy other hikers who might be seeking peace and quiet.
On the flip side, if your speaker is barely audible, what’s the point? You want to enjoy your music! The goal is to find a volume that’s enjoyable for you and your hiking buddies without imposing on others or the environment. It’s all about being a considerate trail companion.
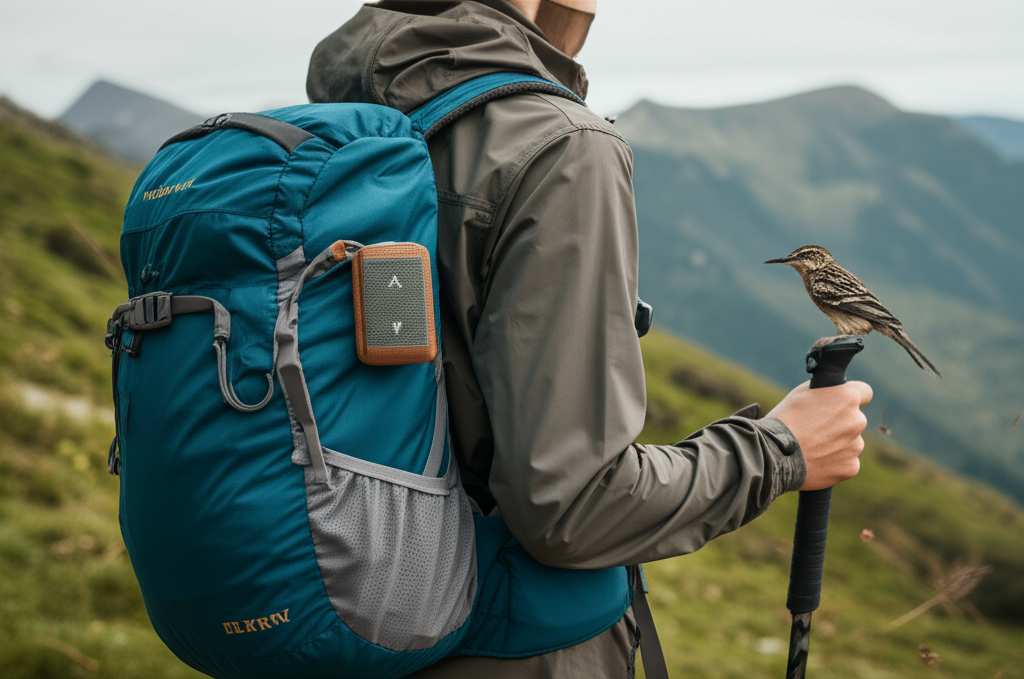
Understanding Your Hiking Speaker: The Basics
Before we even talk about volume, let’s quickly chat about the speaker itself. Not all hiking speakers are created equal. Many are built tough, with water resistance and long battery life. But their sound output can vary a lot.
Some are designed to be portable and personal, meaning they sound best at lower volumes. Others are meant to fill a small space, and they might struggle to be heard over ambient noise if turned down too low. Knowing your speaker’s strengths helps you set realistic volume expectations.
Let’s Talk About Sound: What “Balance” Really Means
Finding the right volume balance means hitting that sweet spot. It’s a volume that allows you to hear your music clearly without it being so loud that it’s intrusive. This is especially important when you’re hiking with others. You want to be able to chat without shouting over the music, but also not feel like you’re missing out on your tunes.
It’s about respecting the natural environment and other hikers. It’s about creating a shared positive experience if you’re with friends, or a personal enjoyable one if you’re solo, without negatively impacting anyone else’s peace. This balance is key to being a good trail citizen.
Essential Tips for Setting the Right Volume on the Trail
So, how do we actually achieve this magical volume balance? It’s not rocket science, but it does take a little awareness and practice. Here are some simple, actionable tips to help you find that perfect sound level.
1. Know Your Surroundings: Be Trail-Aware
This is rule number one, and it’s super important. Before you even press play, take a moment to assess your environment. Are you on a crowded, popular trail? Or are you on a remote path where you’re unlikely to see anyone for miles?
If the trail is busy, keep the volume low. You’ll want it just loud enough for you and your immediate group to hear. If you’re truly alone, you might have a little more leeway, but it’s still good practice to keep it reasonable. Always consider the potential for encountering others.
2. Test Your Speaker’s Sweet Spot Before You Go
Your speaker probably has a “sweet spot” where it sounds best. This is usually not at its absolute lowest or highest volume. Try playing music at different levels in a controlled environment before your hike. See what sounds clear and pleasant without distortion.
Most speakers are designed to perform well at around 30-60% of their maximum volume. Pushing them to 100% often results in tinny sound and can be way too loud for an outdoor setting. Get to know your speaker’s happy place!
3. Use the “Conversation Test”
This is a simple, effective method. Play your music at a volume that allows you and your hiking companions to hold a normal conversation without having to shout or strain to hear each other. If someone needs to yell to be heard, the music is too loud.
If you’re hiking solo, you can adapt this. Imagine if someone were walking up to you – would they be able to speak to you comfortably? Or would they be bombarded by your music? This test helps ensure you’re not being inconsiderate.
4. Consider the Ambient Noise Level
The natural sounds around you play a big role. On a windy day, or near a waterfall, you might need to turn your volume up slightly just to hear your music clearly. Conversely, in a very quiet forest, even a moderate volume can carry surprisingly far.
Always start with a lower volume and gradually increase it until it’s audible but not overpowering. Listen to the natural environment for a moment before you start your music. This helps you gauge how much volume you’ll actually need.
5. Respect Wildlife: Keep it Low and Brief
Wildlife is one of the biggest reasons people love hiking. Loud music can stress out animals, disrupt their natural behaviors, and even cause them to flee their habitats. This is bad for the animals and for the experience of other hikers who might want to observe them.
If you’re in an area known for wildlife, it’s best to keep your speaker off or at a very, very low volume. Some sensitive areas might even have rules against amplified sound. Always check local regulations for the park or trail you’re visiting.
6. Use Headphones for a Personal Experience
If you really want to blast your tunes or listen to something specific without worrying about others, headphones are your best friend. There are many great wireless earbuds and headphones designed for outdoor activities. They offer a personal listening experience that doesn’t affect anyone else on the trail.
This is the ultimate way to ensure you’re not disturbing anyone. Plus, it allows you to fully immerse yourself in your music without any distractions. Many hikers find this the most respectful approach.
7. Group Dynamics: Talk to Your Hiking Buddies
If you’re hiking with friends, have a quick chat about music before you start. Does everyone want to listen? What kind of music? What volume level feels comfortable for the group? Getting everyone on the same page from the beginning prevents awkwardness later.
You might even decide to take turns playing DJ or agree on a playlist beforehand. Clear communication is key to a harmonious hiking experience for everyone involved.
8. Practice “Leave No Trace” Principles for Sound
The Leave No Trace principles are all about minimizing your impact on the outdoors. This extends to sound. Think of your music volume as another form of impact. Keeping it low or using headphones is a core part of being a responsible hiker.
The seventh principle of Leave No Trace is “Be Considerate of Other Visitors.” This directly applies to how we use our speakers. A little consideration goes a long way in preserving the natural beauty and tranquility of our shared spaces.
Choosing the Right Hiking Speaker for Volume Control
The type of speaker you choose can also make a big difference in how easy it is to manage volume. Some speakers are just better suited for trail use than others.
Key Features to Look For in a Hiking Speaker
When you’re shopping for a speaker, keep these features in mind, especially if you plan to use it on hikes:
Portability and Size: Smaller speakers are generally easier to manage volume-wise. They are designed for personal listening or small groups.
Durability: Look for water-resistant (IPX rating), dustproof, and shockproof features. This ensures it can handle the rigors of the trail.
Battery Life: A long-lasting battery is crucial for multi-day hikes or long day trips.
Sound Quality at Lower Volumes: Some speakers sound tinny or weak when turned down. Try to find one that maintains good sound quality even at moderate levels.
Connectivity: Bluetooth is standard, but a stable connection is important so you don’t have to fiddle with it constantly.
Here’s a quick look at how some popular types of hiking speakers stack up when it comes to volume management:
| Speaker Type | Pros for Volume Balance | Cons for Volume Balance | Best For |
|---|---|---|---|
| Ultra-Portable Bluetooth Speaker (e.g., JBL Go, Anker Soundcore) | Small size naturally encourages lower volumes. Easy to carry. | Can struggle to be heard over ambient noise if not loud enough. Limited bass. | Solo hikers, quiet trails, personal listening. |
| Mid-Size Rugged Speaker (e.g., UE Boom, Soundcore Motion+) | Good balance of sound quality and portability. Often have app controls for fine-tuning. | Can be too loud if not careful on quiet trails. | Small groups, moderate trails, mixed environments. |
| Larger Portable Speaker (e.g., Bose SoundLink, some JBL Charge models) | Rich sound quality, can fill a small area with sound. | Easier to accidentally play too loud. Bulkier to carry. | Base camps, less crowded areas, when sharing with a larger group. |
| Bone Conduction Headphones | Completely personal, no external sound. Allows awareness of surroundings. | Not a “speaker” experience. Sound quality is different. | Situations where no external sound is desired or allowed. |
As you can see, the size and intended use of the speaker really influence how you’ll manage its volume. A tiny speaker is naturally going to be less intrusive. A larger one needs more careful handling.
A Note on Speaker Wattage and Volume
You might see speakers advertised with wattage, like 10W or 30W. Higher wattage generally means a speaker can get louder. However, it doesn’t automatically mean it’s a bad choice for hiking. A 30W speaker played at 20% volume might sound better and be more appropriate than a 10W speaker played at 80% volume.
The key is not just the maximum potential loudness, but how well the speaker performs at lower and moderate volumes. Always prioritize sound quality at the levels you’ll actually be using on the trail. For more on speaker specs, check out this helpful guide from CNET.
Putting It All Together: A Quick Checklist
Here’s a handy checklist to help you remember the essentials for finding that perfect volume balance:
[ ] Check Your Surroundings: Are there other people or sensitive wildlife nearby?
[ ] Test Your Speaker: Know its best sound range before you hit the trail.
[ ] Start Low: Always begin with the volume turned down.
[ ] Use the Conversation Test: Can you talk normally without yelling?
[ ] Listen to Nature: Adjust volume based on wind, water, or quietness.
[ ] Prioritize Respect: Consider other visitors and wildlife.
[ ] Consider Headphones: For a personal, non-disruptive experience.
[ ] Communicate with Group: Discuss music and volume with your hiking buddies.
[ ] Know Your Speaker: Choose a speaker suited for outdoor use.
Fun Fact: Sound travels differently outdoors!
Did you know that sound waves can be absorbed by trees, soil, and even the air itself? This means what sounds loud in your living room might seem quieter outdoors. However, sound can also travel further in open spaces without barriers. So, a little goes a long way on the trail!
Frequently Asked Questions (FAQs)
Got more questions? I’ve got you covered. Here are some common queries about hiking speaker volume.
Q1: How loud is “too loud” for a hiking speaker?
A1: “Too loud” is when others can clearly hear your music from a distance, when it drowns out natural sounds, or when you have to shout to talk to your hiking companions. If you have to crank it up to hear it over ambient noise, it’s probably too loud for a shared trail.
Q2: Can I use my phone as a speaker on a hike?
A2: You can, but phones aren’t ideal. Their speakers are usually small and not very powerful, meaning you’ll likely have to turn them up to the max to hear them, which can sound distorted and still be disruptive. A dedicated portable speaker is usually a better choice for sound quality and durability.
Q3: What is an “IPX rating” for speakers?
A3: The IPX rating tells you how water-resistant a speaker is. For example, IPX7 means the speaker can be submerged in water up to 1 meter for 30 minutes. For hiking, look for at least IPX5, which protects against water jets. It’s great for unexpected rain or splashes!
Q4: How do I connect my speaker to my phone via Bluetooth?
A4: First, turn on your speaker and put it in pairing mode (check your speaker’s manual for how). Then, go to the Bluetooth settings on your phone, search for nearby devices, and select your speaker’s name. Once it’s paired, your phone should automatically connect to it when both are on.
Q5: Are there specific rules about music on hiking trails?
A5: Many parks and trails have rules about noise, especially in wilderness areas or near campgrounds. Some may prohibit amplified sound altogether. It’s always a good idea to check the specific regulations for the area you’re visiting before you go.
Q6: My speaker sounds distorted when I turn it up. What’s wrong?
A6: Distortion usually happens when you’re pushing the speaker beyond its capabilities, often at maximum volume. Try turning the volume down slightly, both on the speaker and on your phone or music player. Also, ensure your speaker is fully charged, as low battery can sometimes affect sound quality.
Q7: Is it okay to play music if I’m completely alone on the trail?
A7: While you won’t be disturbing other hikers, it’s still good practice to be mindful of wildlife. Keep the volume at a level where it doesn’t overpower the natural sounds. Enjoy your music, but also take moments to just listen to the sounds of nature.
Conclusion: Amp Up Your Hike, Responsibly!
So there you have it! Finding the right volume balance for your hiking speakers is all about being mindful and respectful. It’s about enhancing your own experience without detracting from the peace and beauty of the outdoors for others, including the local wildlife.
Remember to test your speaker, know your surroundings, and use that handy conversation test. And if in doubt, headphones are always a fantastic, considerate option. By following these tips, you can ensure your soundtrack makes your hikes even more memorable in all the right ways.
Now go out there, hit the trails, and enjoy your favorite tunes responsibly. Make every moment louder and better – for you and for everyone sharing the path! Happy hiking and happy listening!
Related posts:
 What Is The Best Bluetooth Speaker For Hiking Trails: Essential Gear
 What To Consider When Buying Bluetooth Speaker For Hiking Trails: Essential Guide
 Does Road Or Trail Noise Affect Bluetooth Speaker Performance On Bike: Shocking Truth
 Can I Use Bluetooth Speaker & GPS App Together While Hiking? Awesome!